| このページは、2019年3月に保存されたアーカイブです。最新の内容ではない場合がありますのでご注意ください |
| |
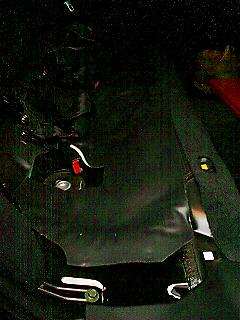
| Front (already changed to HC+) | Rear |
Replaced by the store I bought them. Enable you to get stopping power as your braking. A little noisy.
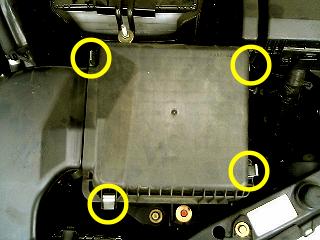 | 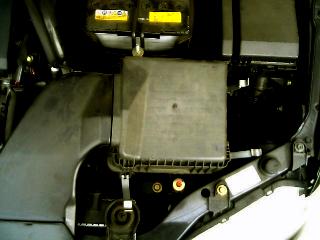 |
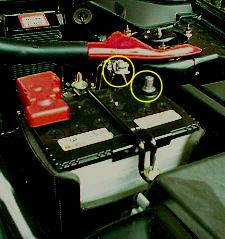
| 1. Open the hood and find the air cleaner box at the navigator's side, close to the battery. Then unhook 4 points (see the circles above). | 2. Showing unhooked. |
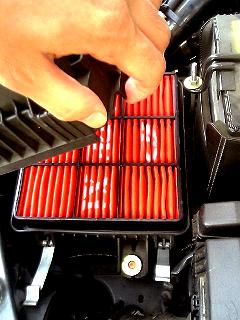 |  |
| 3. The lid is still fixed with other pins but do not take them off. Lifting the lid, take off the original filter with the other hand. Put the new filter at the same position. Put the lid and hook. It takes a few minutes. You may not feel the difference from the original filter and the new one. | 4. Showing the original one, used for about 33,000 km. |
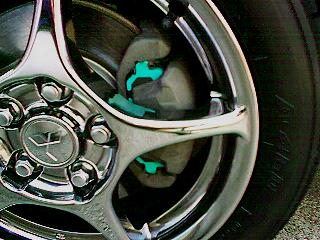
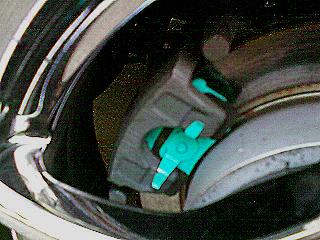
Ones of the prizes I got. Here are the characteristics on the package.
1. Durable steal arm
2. Stability on speeding high
3. Durable rubber with smoothly wiping
4. Small noise from the joints
5. Adapter with a patent
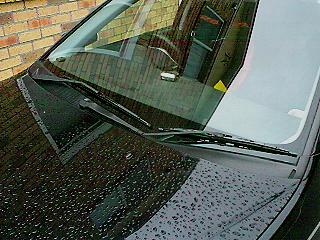
Seems the same as the originals of Mitsubishi, advertised as "AERO WIPER", though. Not yet examined the satability due to no high speed driving yet. No problems with wiping, except small noise from the rubber when there are few rain drops. No differences with the noise and the adapter from the originals. Need to watch the durability for rust for years. FYI, no rusts with the originals used for two years.
1. Take the minus terminal out of the battery just in case you might get some electrical troubles. 2. Take the bolted upper and under column covers made of plastic behind the steering wheel, and under the instrument panel.
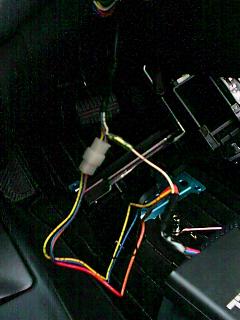
3. Ground the black cable of the timer to the body of the car. I grounded to the bolt with the other cables, which connect to it to ground, at the left side of the driver's leg under the instrument panel.
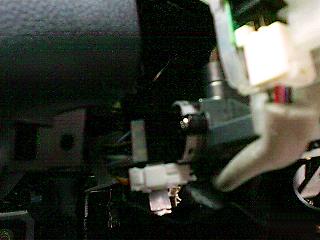
4. Take the white couplers connecting to the key cylinder behind the column of the steering wheel.5. Put a connecting kit, which is not with the timer, between the couplers taken at the above 4.
6. Put the other side of the couplers to the coupler of the timer7. To take out the center console, find the three 10 mm bolts by tearing off the rubber sheet on the bottom of the pocket.
8. After taking the bolts by a tool with a long grip, lift the whole center console.9. Take out the center console as you are lifting it, taking care about the lever of the side brake.
10. Take the cable connected to the bottom of the side brake, take the plastic film of the white cable enclosed with the timer,
and then put the both cables to the original connector of the side brake.
11. Put the other side of the above white cable with the other white cable from the timer, only by connecting the both connectors each other.12. After checking if it works well, put all the covers and so on you removed back to where there were.
13. Fix the timer to where you can see the timer and the meters also with the double-face tape enclosed with the timer.
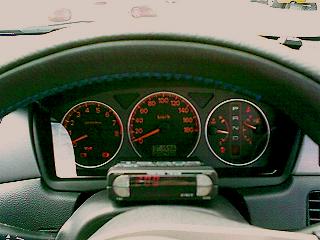
14. I have put it in the steering wheel column, where there is no problem with seeing the timer and the meters except the bottom of the trip meters showing the total distance the car has run, and handling the timer.
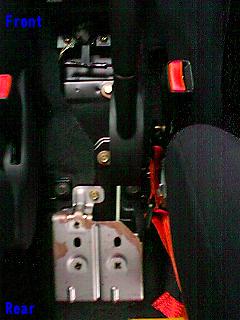
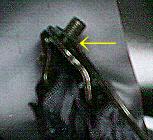
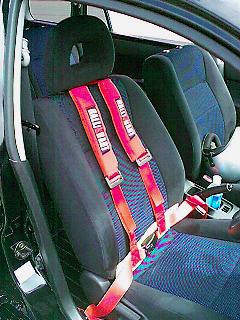
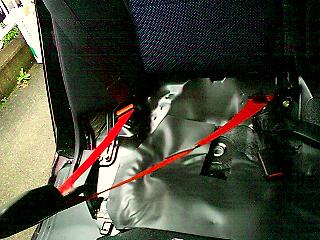
1. Take out the center console (refer to 7. and 8. of the above "Turbo Timer"). 2. Take the bolt fixing the buckle of the original seat belt out of the left side of the driver's seat. Take the nut (the arrow in the photo) with a minus screw driver out of the bolt.
3. Put back the buckle you just removed with an eye bolt, formed like "Ç".
4. Replace the right bolt fixing the original seat belt at the bottom of the center pillar to an eye bolt as well.5. Catch the hooks of the 4x4 seat belt to the eye bolts to complete the front side.
6. Put back the center console. Be sure the belt is not twisted.7. Take the rear seat. Raise it strongly, and then two hooks fixing the seat will be removed. 8. Take the bolts fixing the original seat belt, and put them back again with the 4x4 seat belt.
9. Connect the rear part and the front part of the 4x4 seat belt to complete. You can also use the rear seat with the 4x4 even if you put it back.
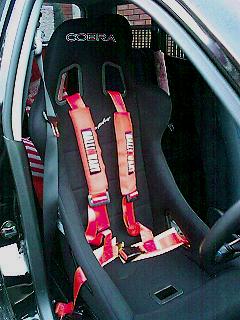
1. Remove the original seat that was fixed by four bolts of its each corner. Don't forget to remove the connector of the cable to the original buckle of the seatbelt.
2. Fix the exclusive rail to the bucket seat by a wrench with six corners
3. Fix the bucket seat to the same place by the original bolts you just removed. That's all. Easy, but effective.
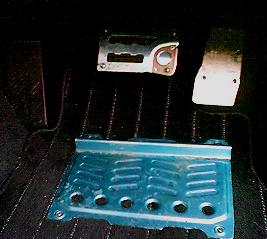
Only fix it with the enclosed bars and the bolts over the original pedal. The tool to fix the bolts is also enclosed. There is less friction with them than the original ones made of rubber, so I can handle stepping on the gas and braking more sensitively. The accelerator pedal was taken off after reconsideration of the feeling.
Fix with the enclosed bolts to the original floor mat made four holes. The tools you have to prepare are a gimlet or a drill and a plus screw driver. The plate can fix both foots, so is efficient especially for sensitively braking as the above.
| このページは、2019年3月に保存されたアーカイブです。最新の内容ではない場合がありますのでご注意ください |